Forum Replies Created
-
AuthorPosts
-
M_schrenk
ParticipantWow – how did you recreate the missing teeth? I have not found a reliable method to fix anything plastic. Always seems to eventually fail.
The green gear may have been produced with what ever color polymer pellets the purchasing guy found at the best price. It is strange to see the greenish color…
M_schrenk
Participant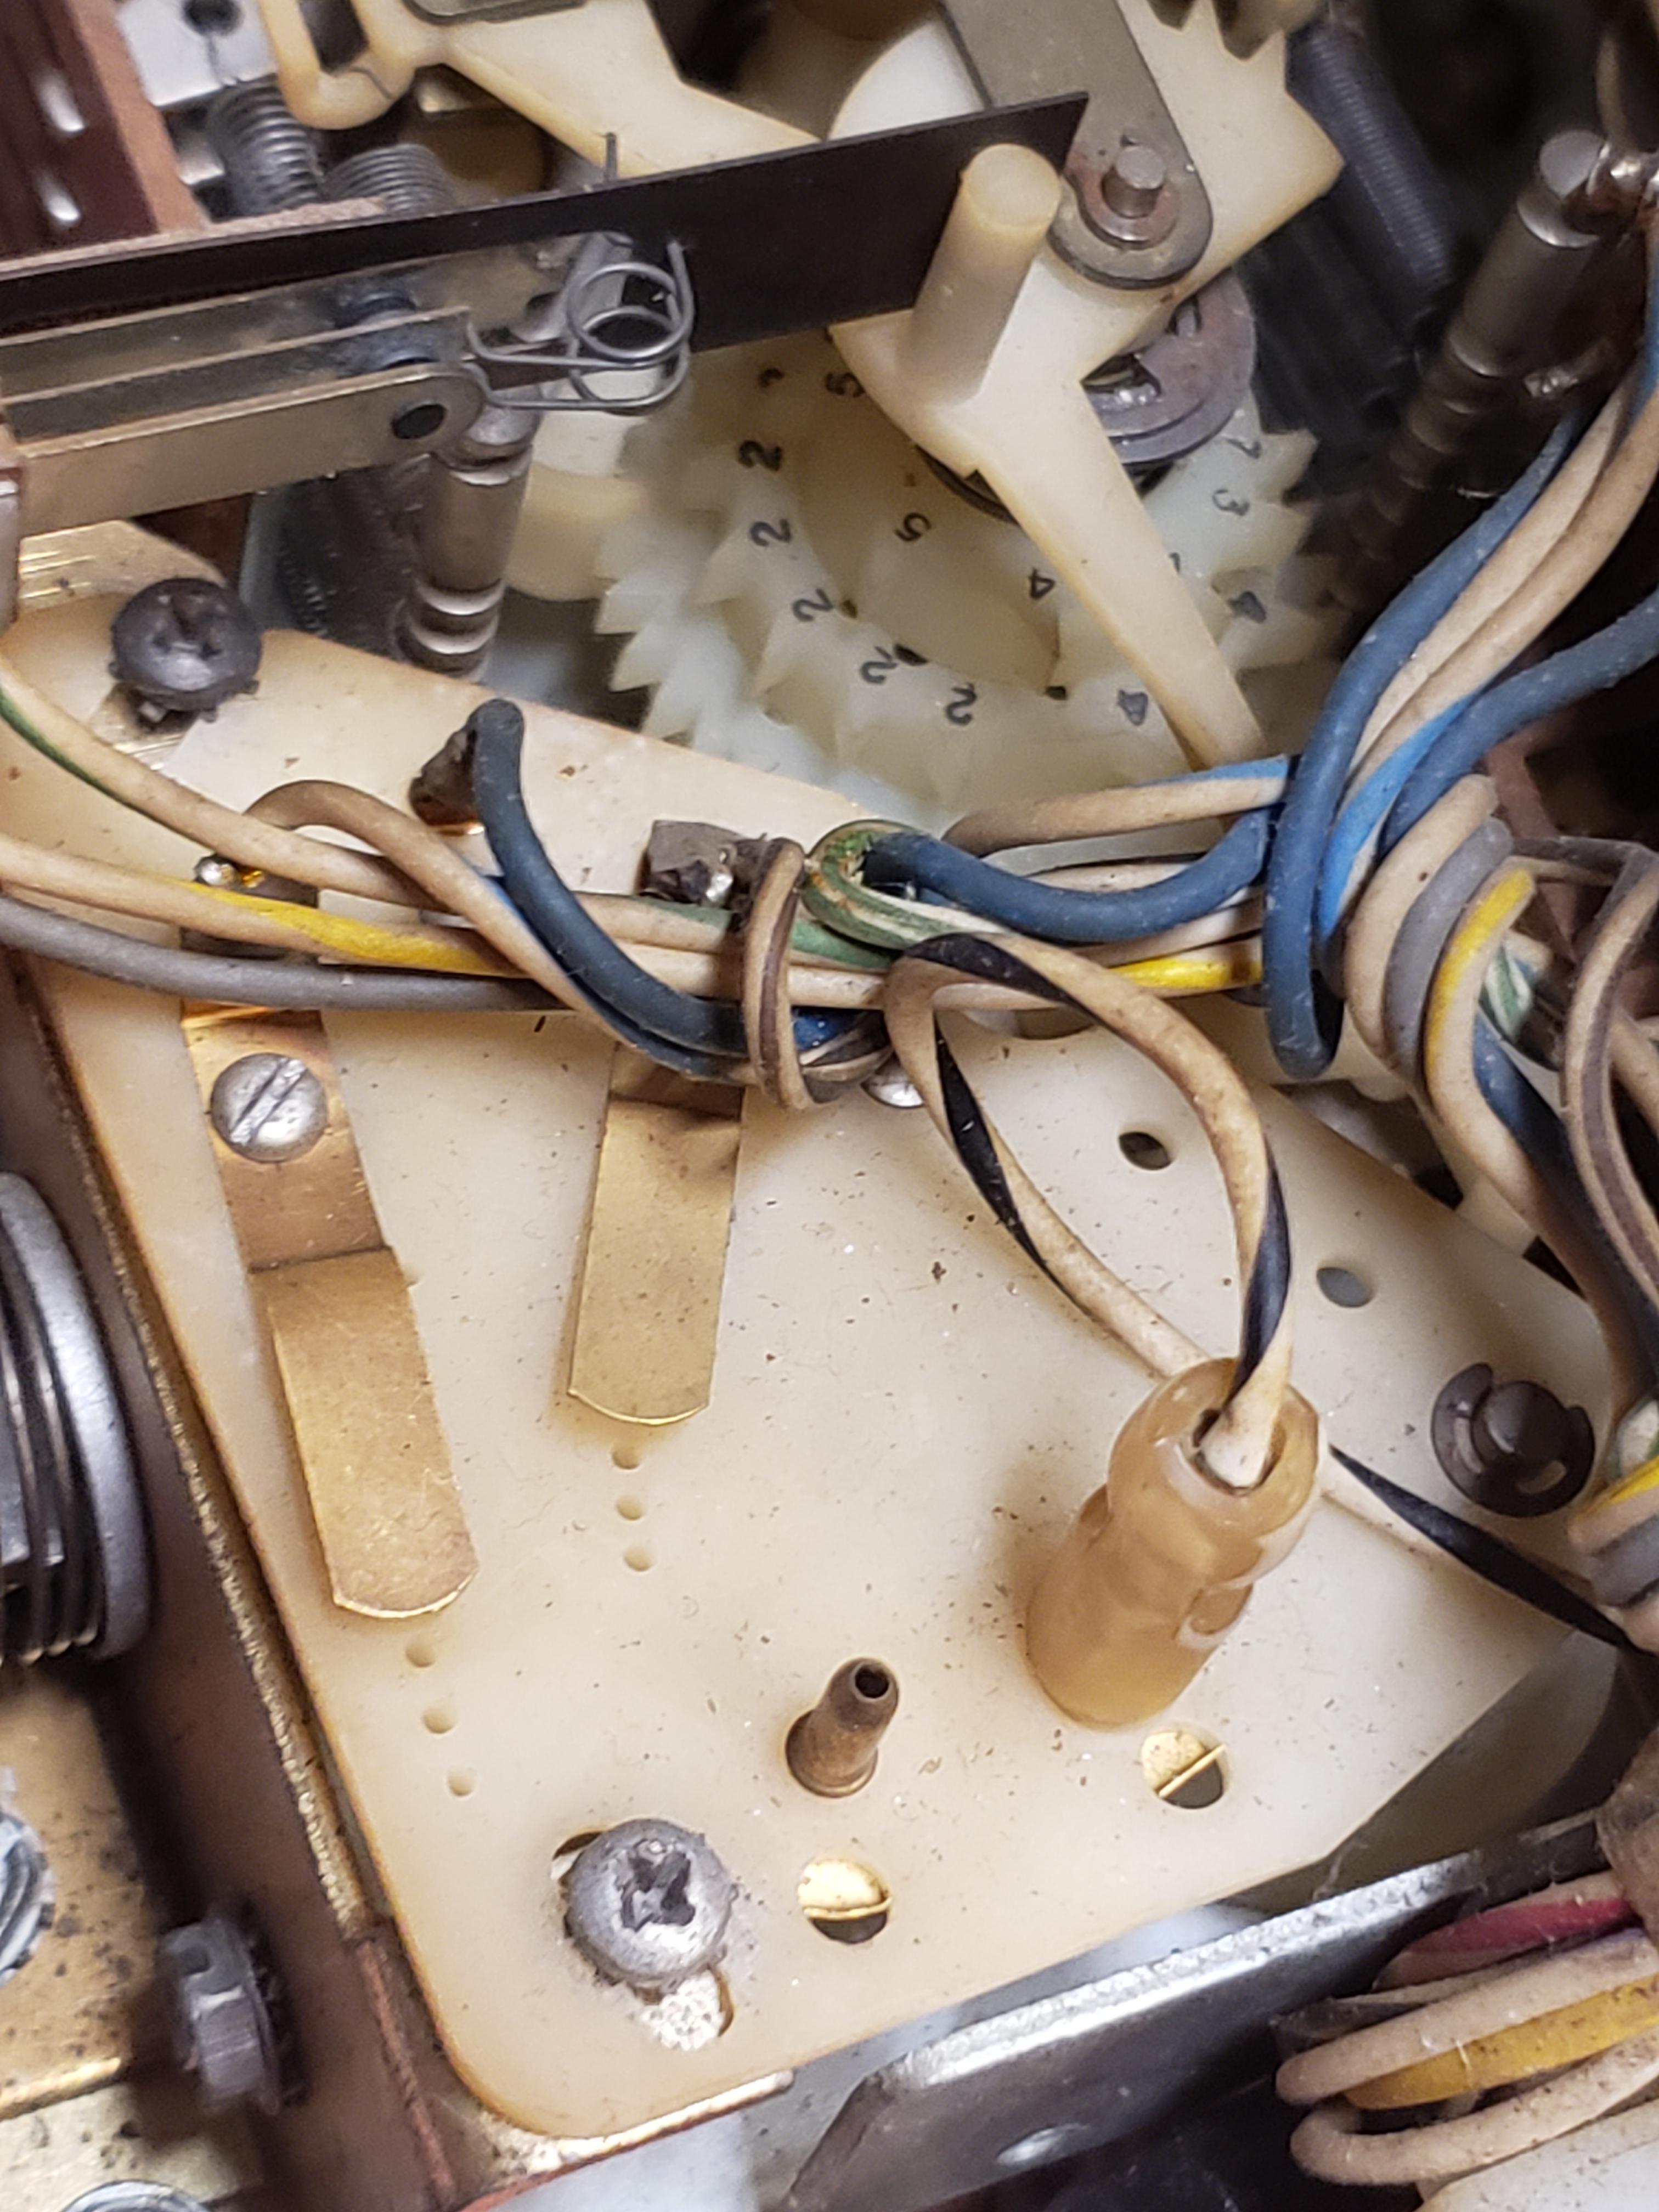
M_schrenk
Participant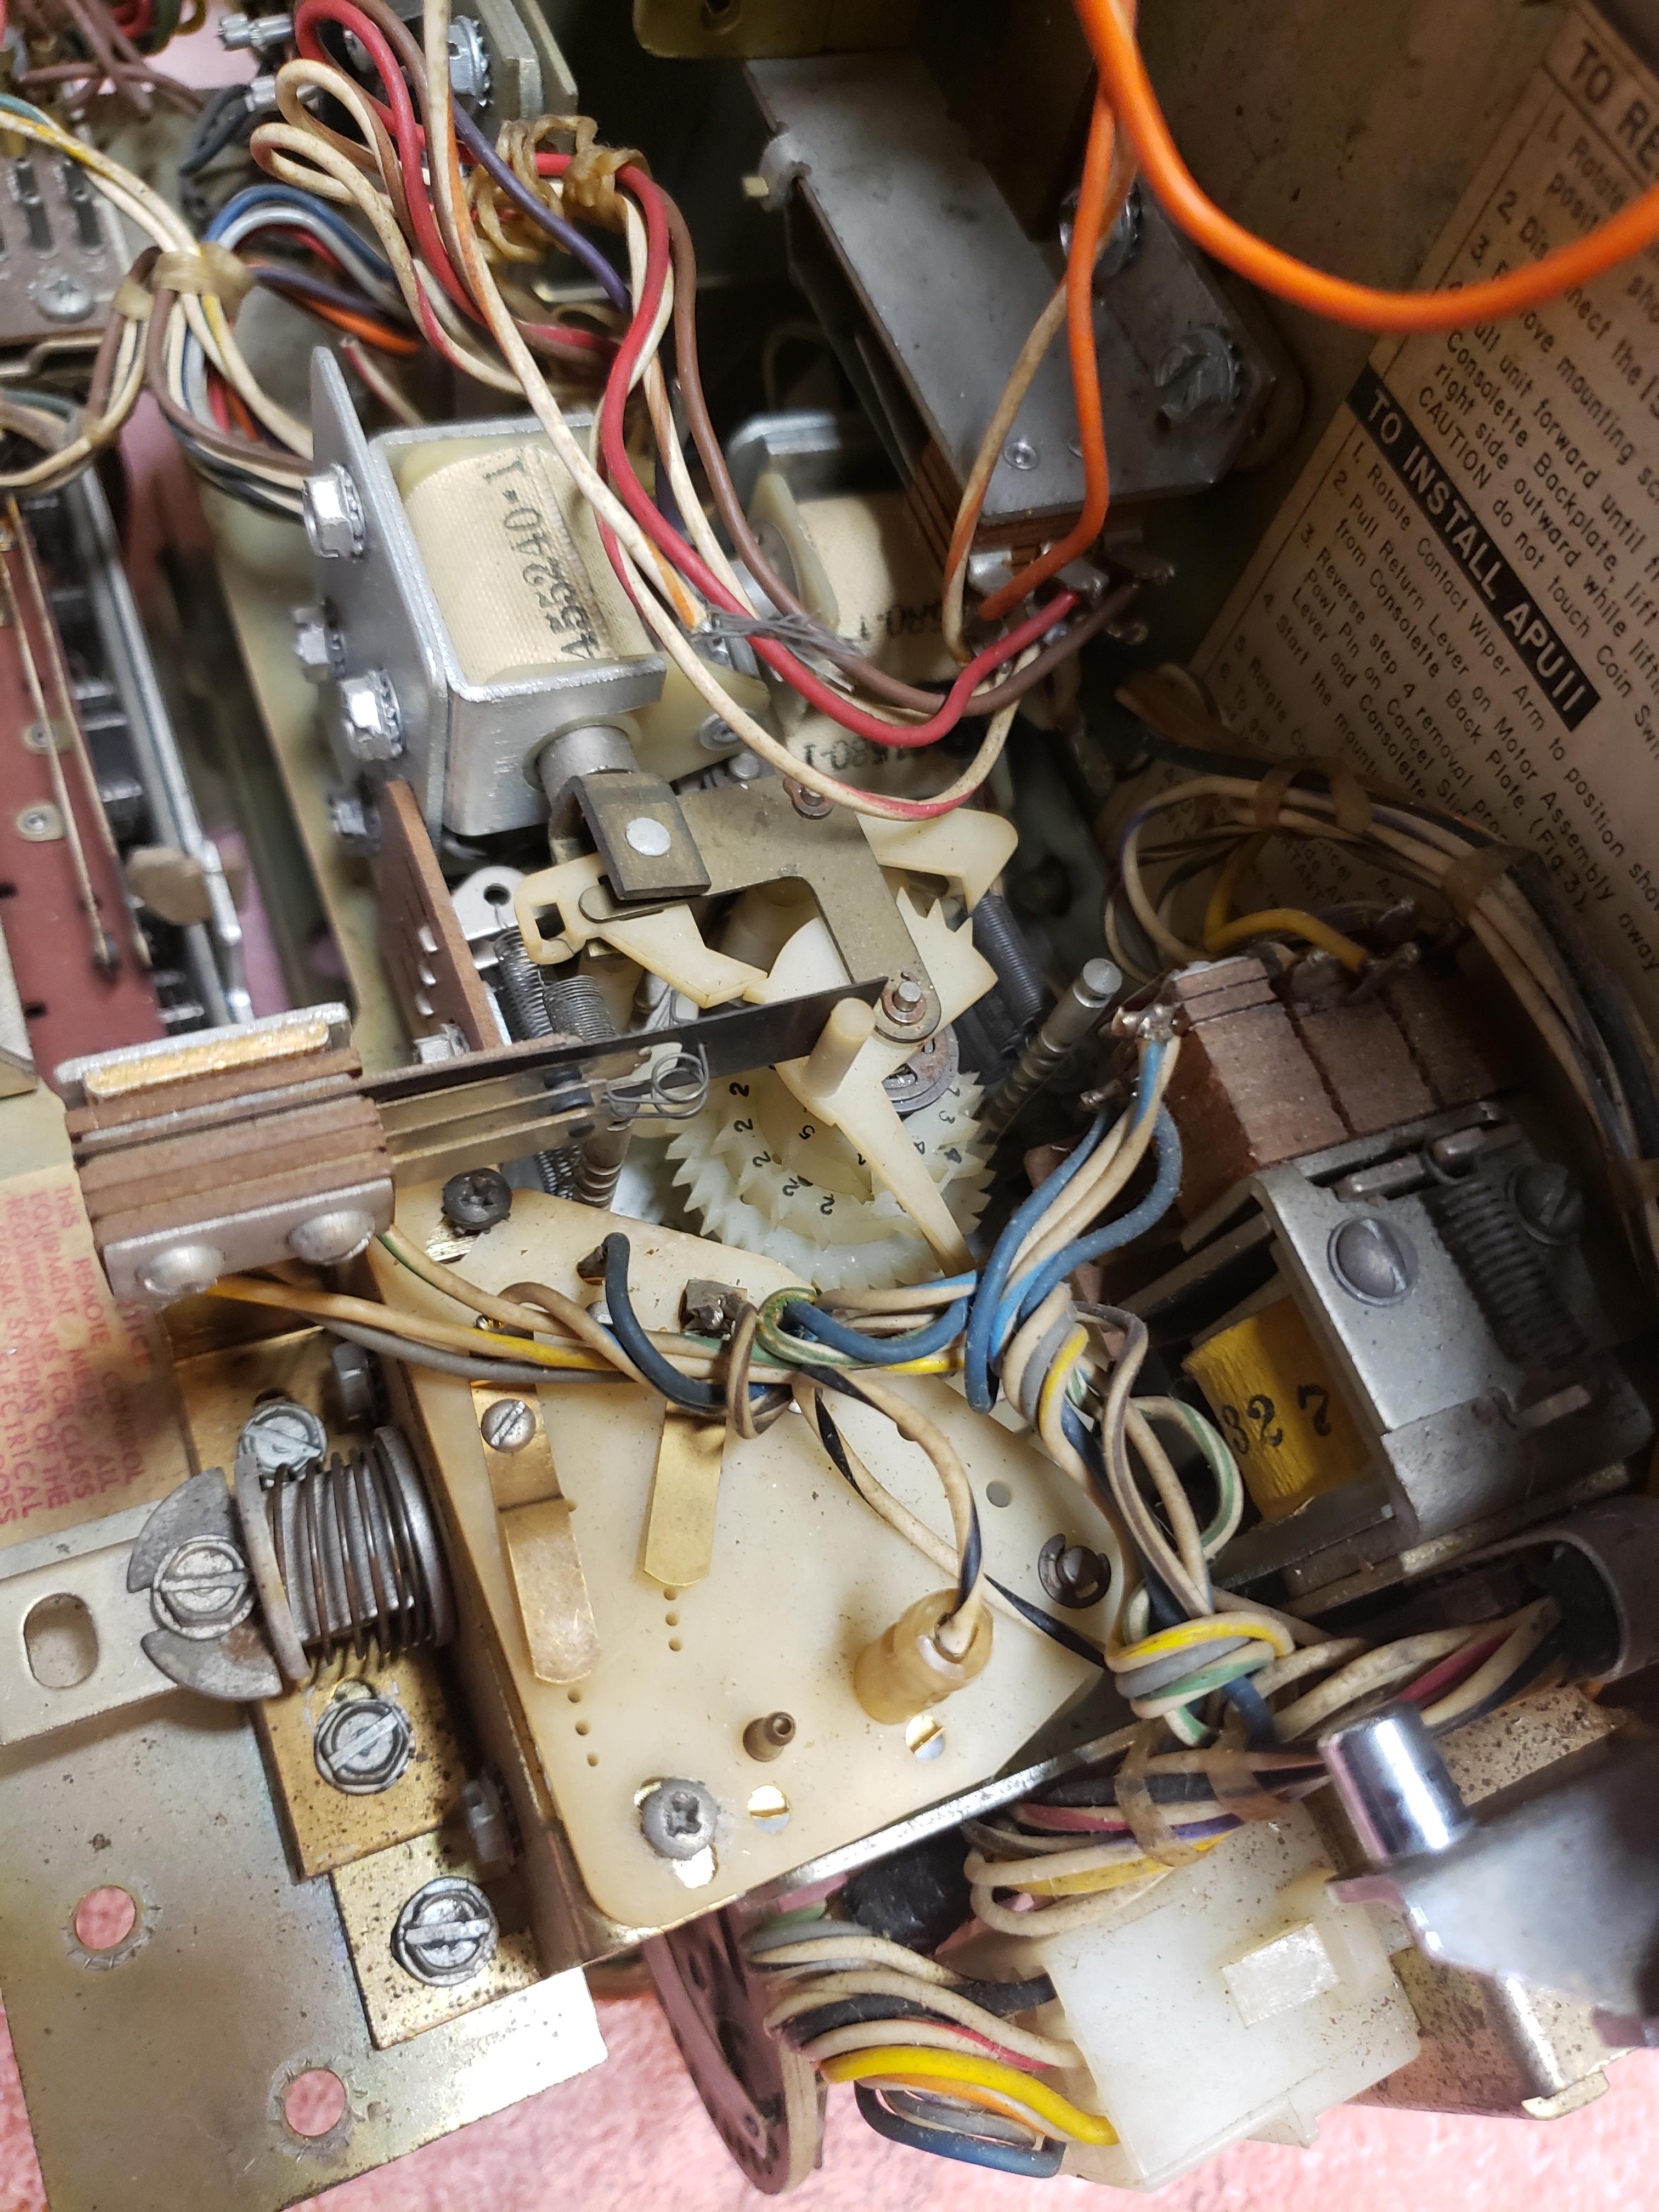
M_schrenk
ParticipantNo problem!
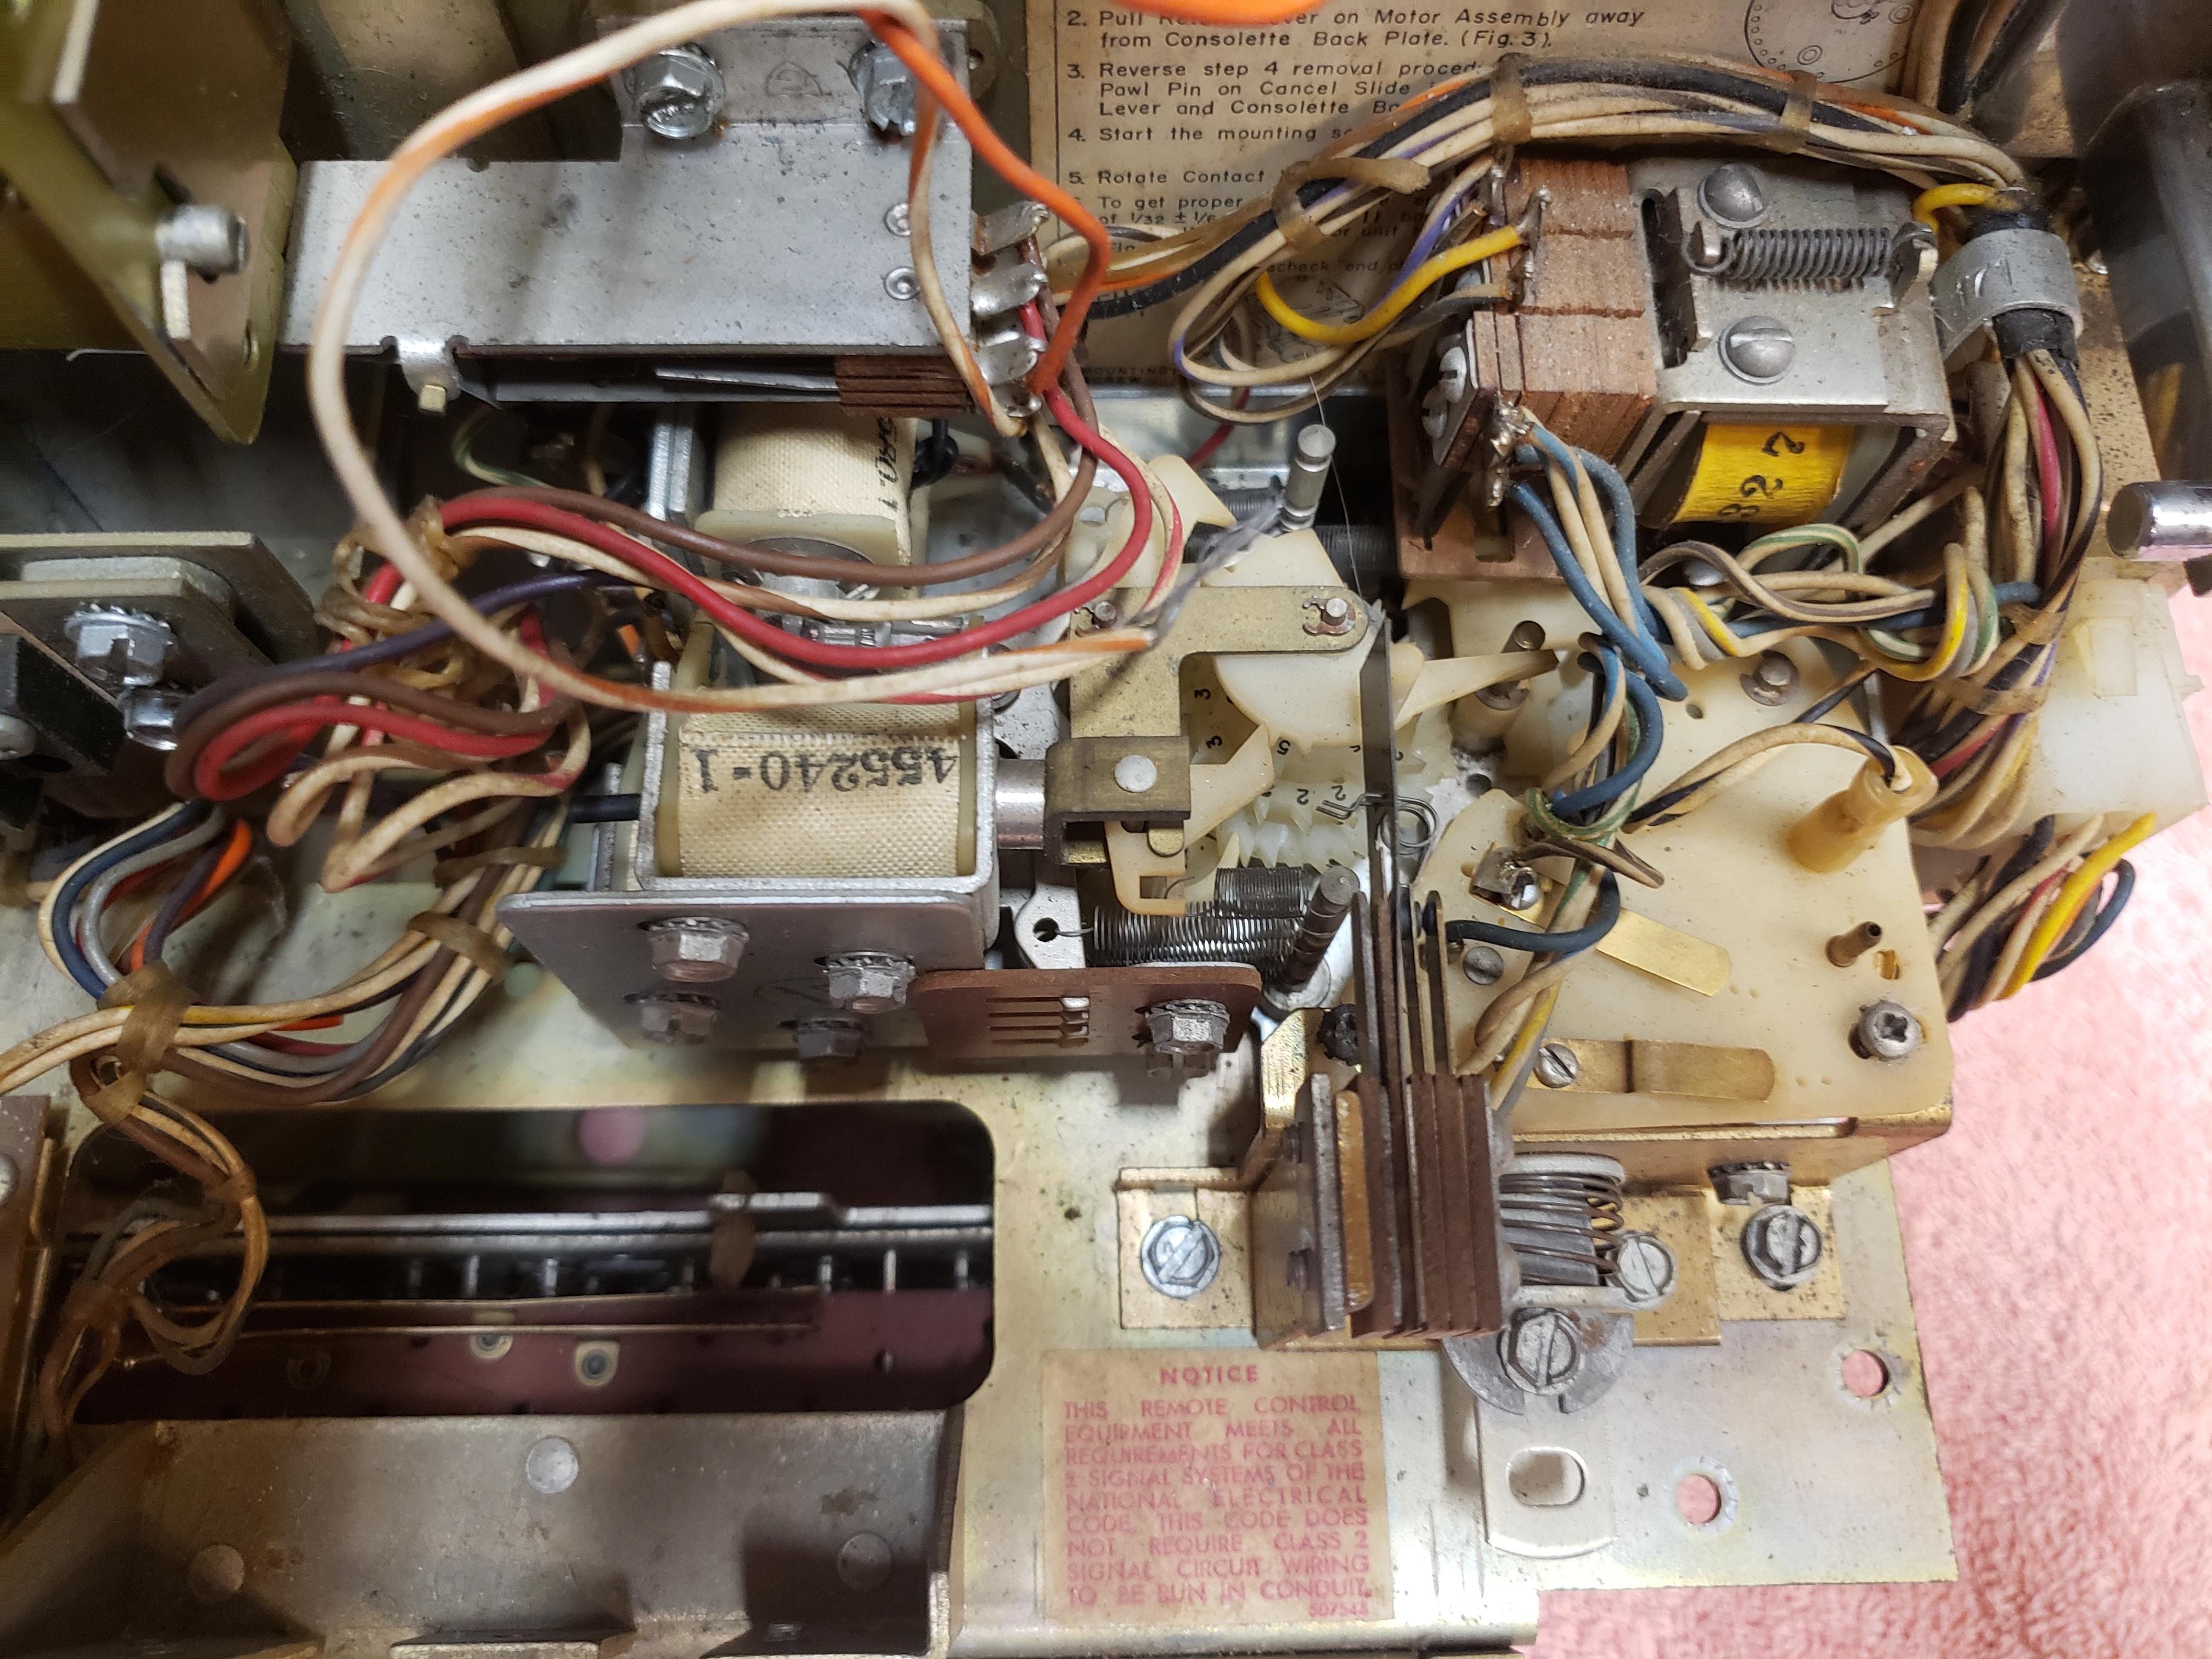
Plan on working on the enclosure tonight – I’ll take some new ones and post them to the thread. Here’s what I already had taken for my “As Found” photos when I got it home.
Mike
M_schrenk
ParticipantScudie – thanks for the help.
Is the hum there as soon as the power is switched on ? No, only when the coin switch is triggered. As the coin passes you hear the hum but a credit is not established.
Are your coin switches open until activated by yourself or by a coin deposited. Yes, they are normally open.
Which solenoid is buzzing is it on the credit unit? I deposited a quarter and it was the quarter solenoid.
I removed the resistor until the other smaller ohm ones arrive. I’m not triggering then much as I’m still working on other aspects. Without the resistor it does work just fine. I guess what I need to do is find the highest ohm that still allows the solenoids to operate.
My machine is completely missing the volume mechanism and circuitry as well as the speakers. It appears to work fine without it (luckily) and I’m just going to use the speaker jack on the emulator to power a set of computer speakers. I spent some time last night making a fake spring system so the buttons move in and out but they do absolutely nothing for volume. I copied the system Seeburg used on the number/letter buttons and I fabricated it out of sheet metal and a few springs. Surprised myself that it actually works!
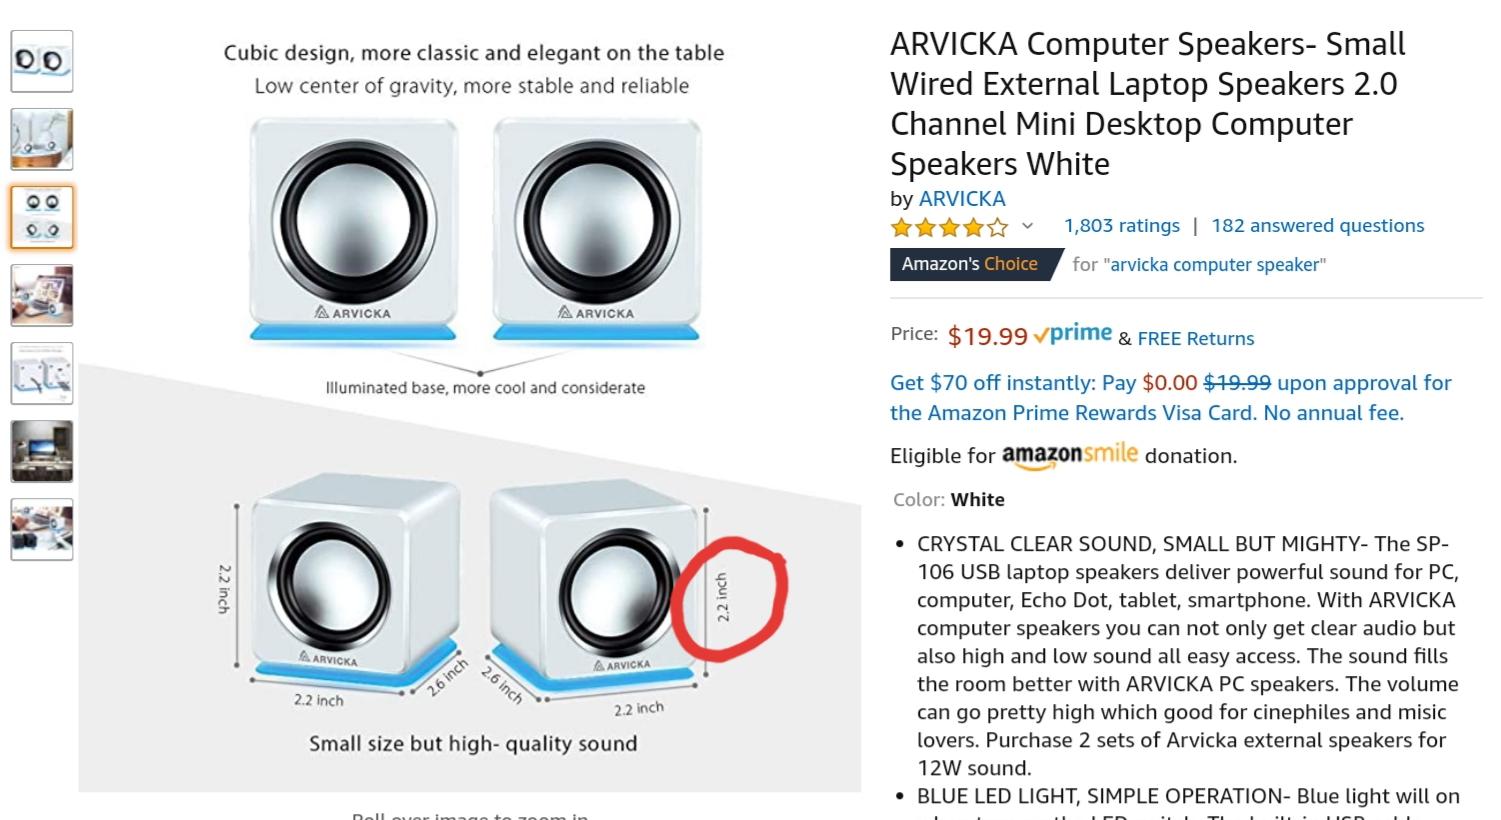
Today I should receive the enclosure, dedicated power supply for the emulator and a set of computer speakers I’m going to mount where the 3×5 speakers should be. The 3×5 speakers I had bought have a large magnet and will be very close if not touching the latch bar mechanism. Even if it did work I would have been modifying something to make them fit. I didn’t like that and they sounded like shit. The speaker set I bought are very small (2.2″ square enclosure) so I can screw them in to the original mounts without modifications to anything but the speaker housing. I can guarantee they will sound better especially because I’m keeping them in their tiny enclosure. They are powered by a 5V USB plug which I’ll cut and connect to the 5VDC on the emulator and then plug in to the 3.5mm audio port. It should work fine.
The enclosure is about 9×6 and I plan to mount it on the back. Kind of liking the fact that this one will be a self contained unit, unlike my 3WA that has a larger enclosure and drive in speakers…. Still cool as heck but much less portable.
M_schrenk
ParticipantScudie,
I installed the 40ohm wire wound and all I get is a hum from the solenoids. I ordered 5W 20 ohm and 10 ohm wire wound but they are taking a long time for delivery. Would standard resistors like these work?

M_schrenk
ParticipantGreat look and awesome integration. Looks like it was made for it by Seeburg. The remote SD card slot is a good upgrade when you change the titlestrip selections. Thanks for sharing.
M_schrenk
Participant Before I connected my upgraded and sealed drive in speakers to my 3WA using the wired speaker connection I was using my son’s JBL Flip using a BT transmitter to the headphone jack. It sounded amazing and the size is quite small. I don’t know how they do it but the sound coming out of a 2 inch speaker is amazing.
M_schrenk
ParticipantScudie,
I was going through all of the posts on this forum (wasting time until my family wakes up!) and seen another reply you had for free play. If I understand this correctly, when you jump them out as you instructed there is always a credit…. It never deducts after a selection. So I’m guessing you would not jump it and then plug it back in the socket…
My brain was still sleeping… I was reading that as if “free play” meant a button to trigger the coin switch. I would think that would simply require connecting a momentary switch to one of the coin switches. I think I’m awake now! All this social distancing and stay home stuff is messing with me!
M_schrenk
ParticipantScudie,
Not sure I’ll ever do that as I’m still enjoying feeding my 3WA quarters. Just to clarify, you are saying that I would install a momentary switch to the ground terminal and that 4th terminal and then plug it back in to the socket?
Sorry-dumb question but I don’t want to mess anything up if I ever do this in the future.
M_schrenk
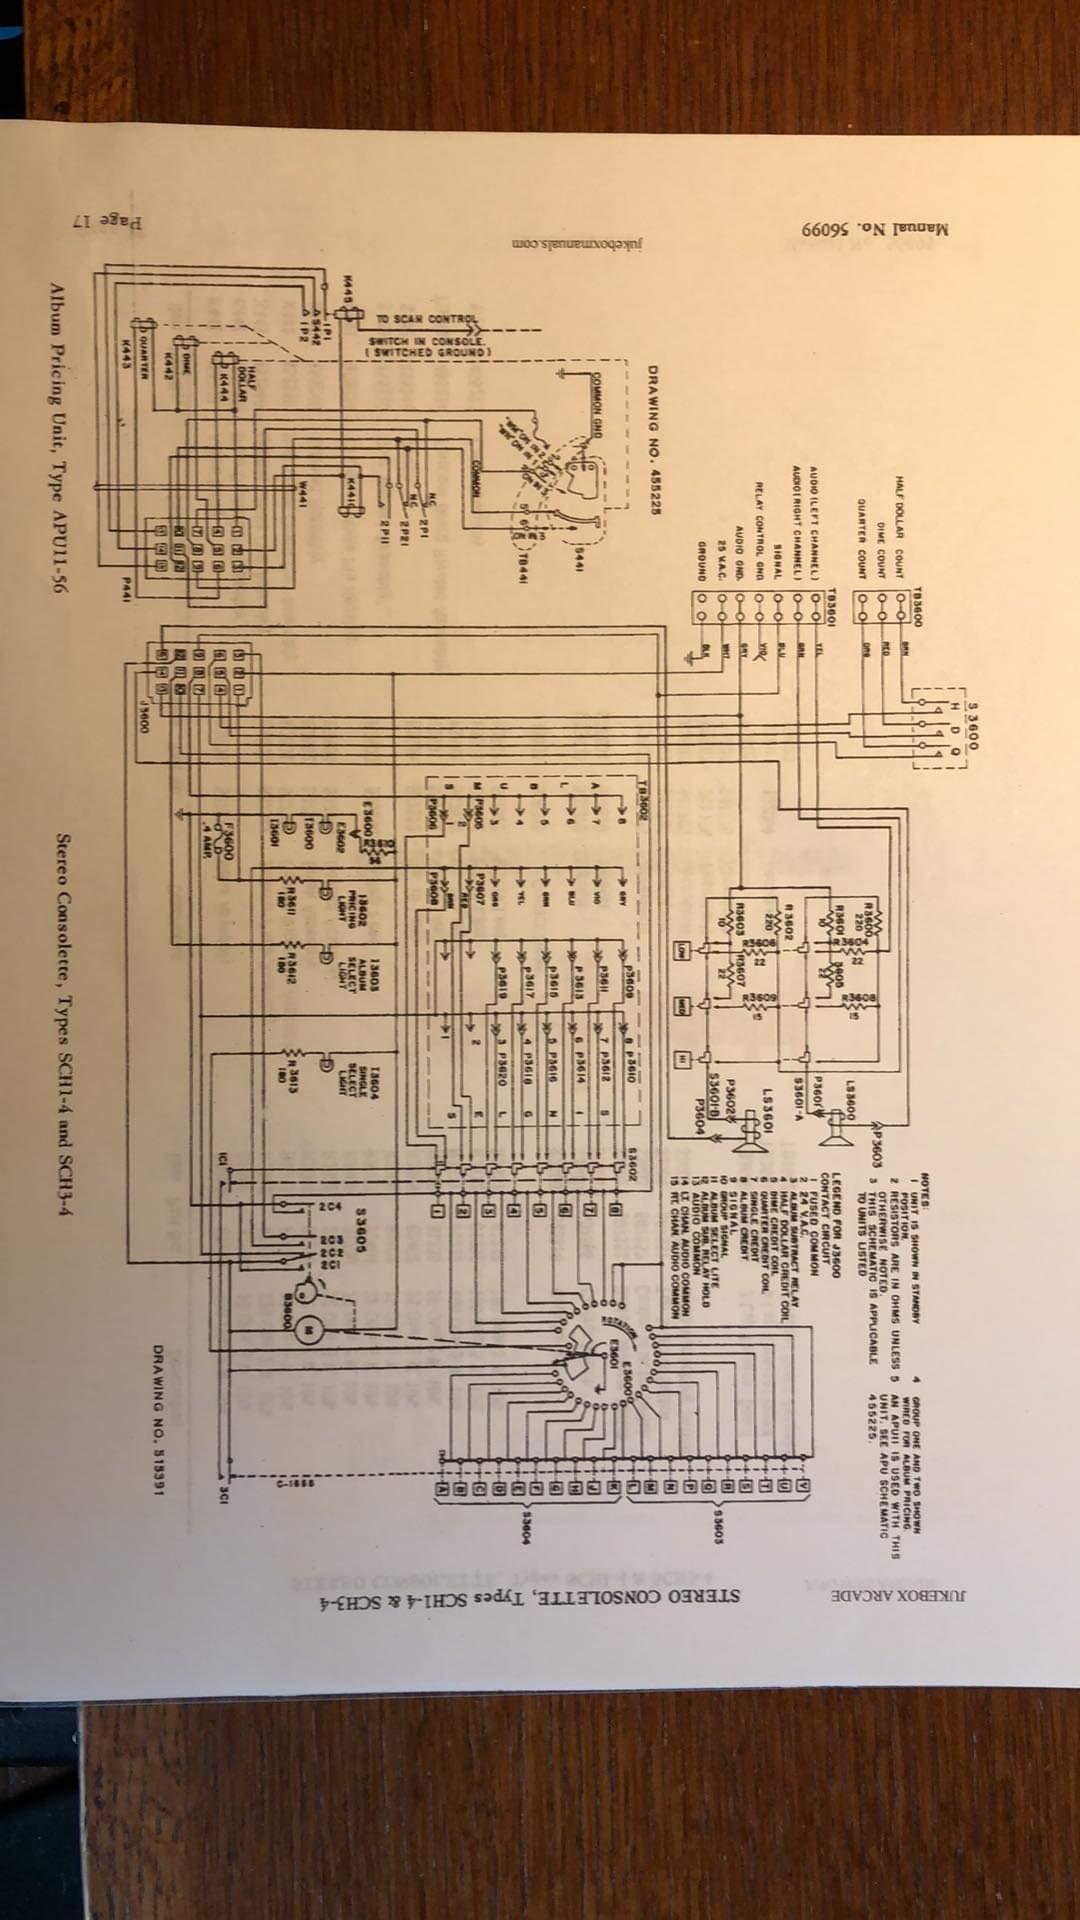
ParticipantThe electrical diagram was sent to me as a photo from another Facebook group member. As expected there are quite a few differences between the SCH and SC wiring diagrams.
M_schrenk
Participant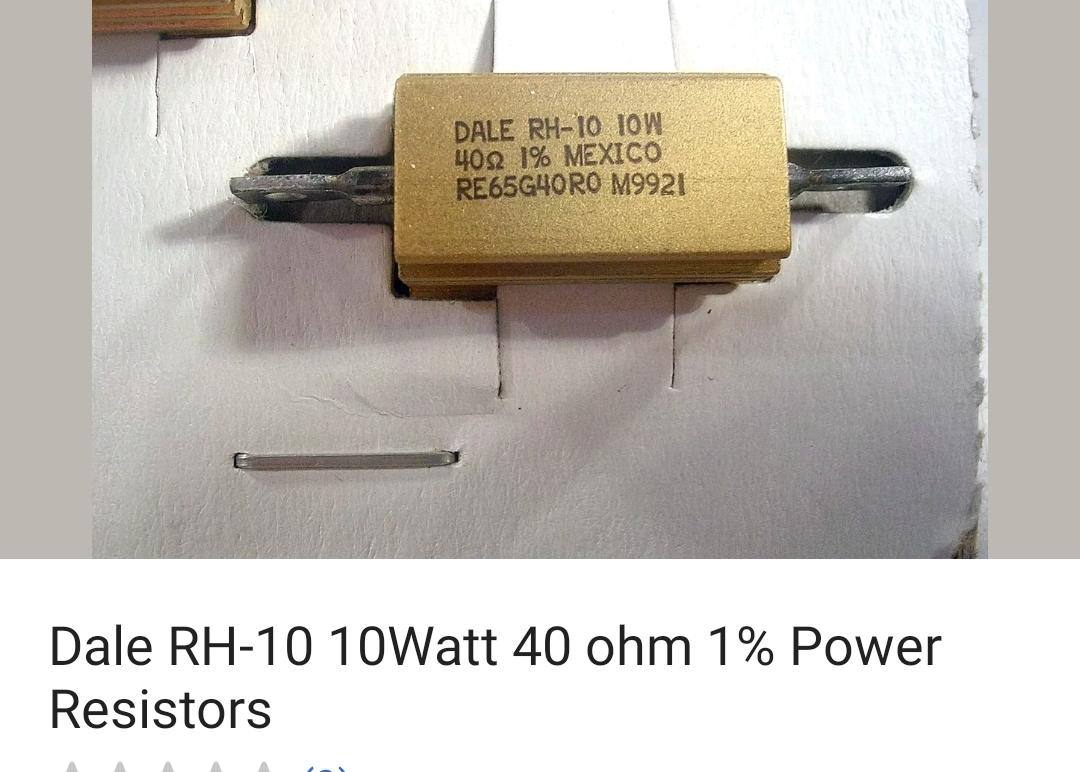
M_schrenk
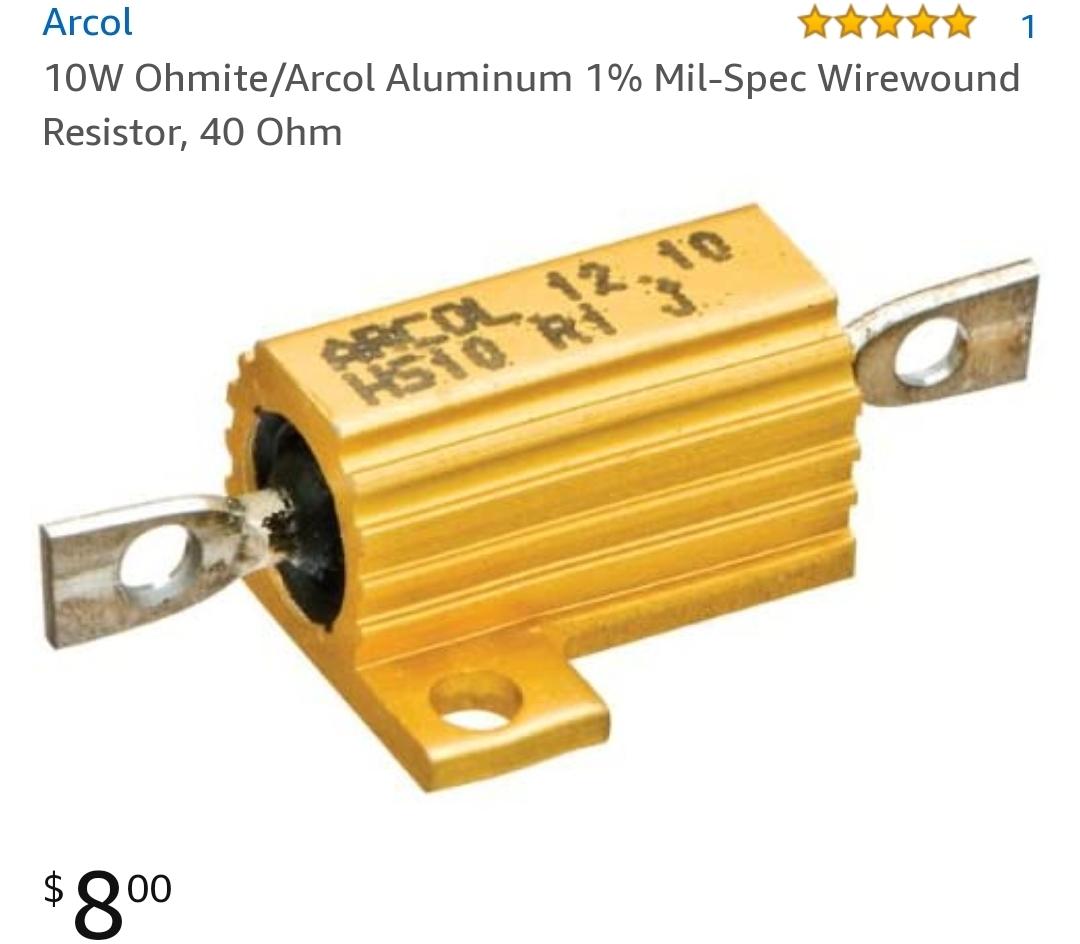
ParticipantHere are the two resistors I ordered. Whichever I don’t use I’ll keep if/when I get another SC wallbox.
M_schrenk
ParticipantScudie,
A Facebook group member sent me the SCH1 wiring diagram… Very helpful.
I did what you recommended
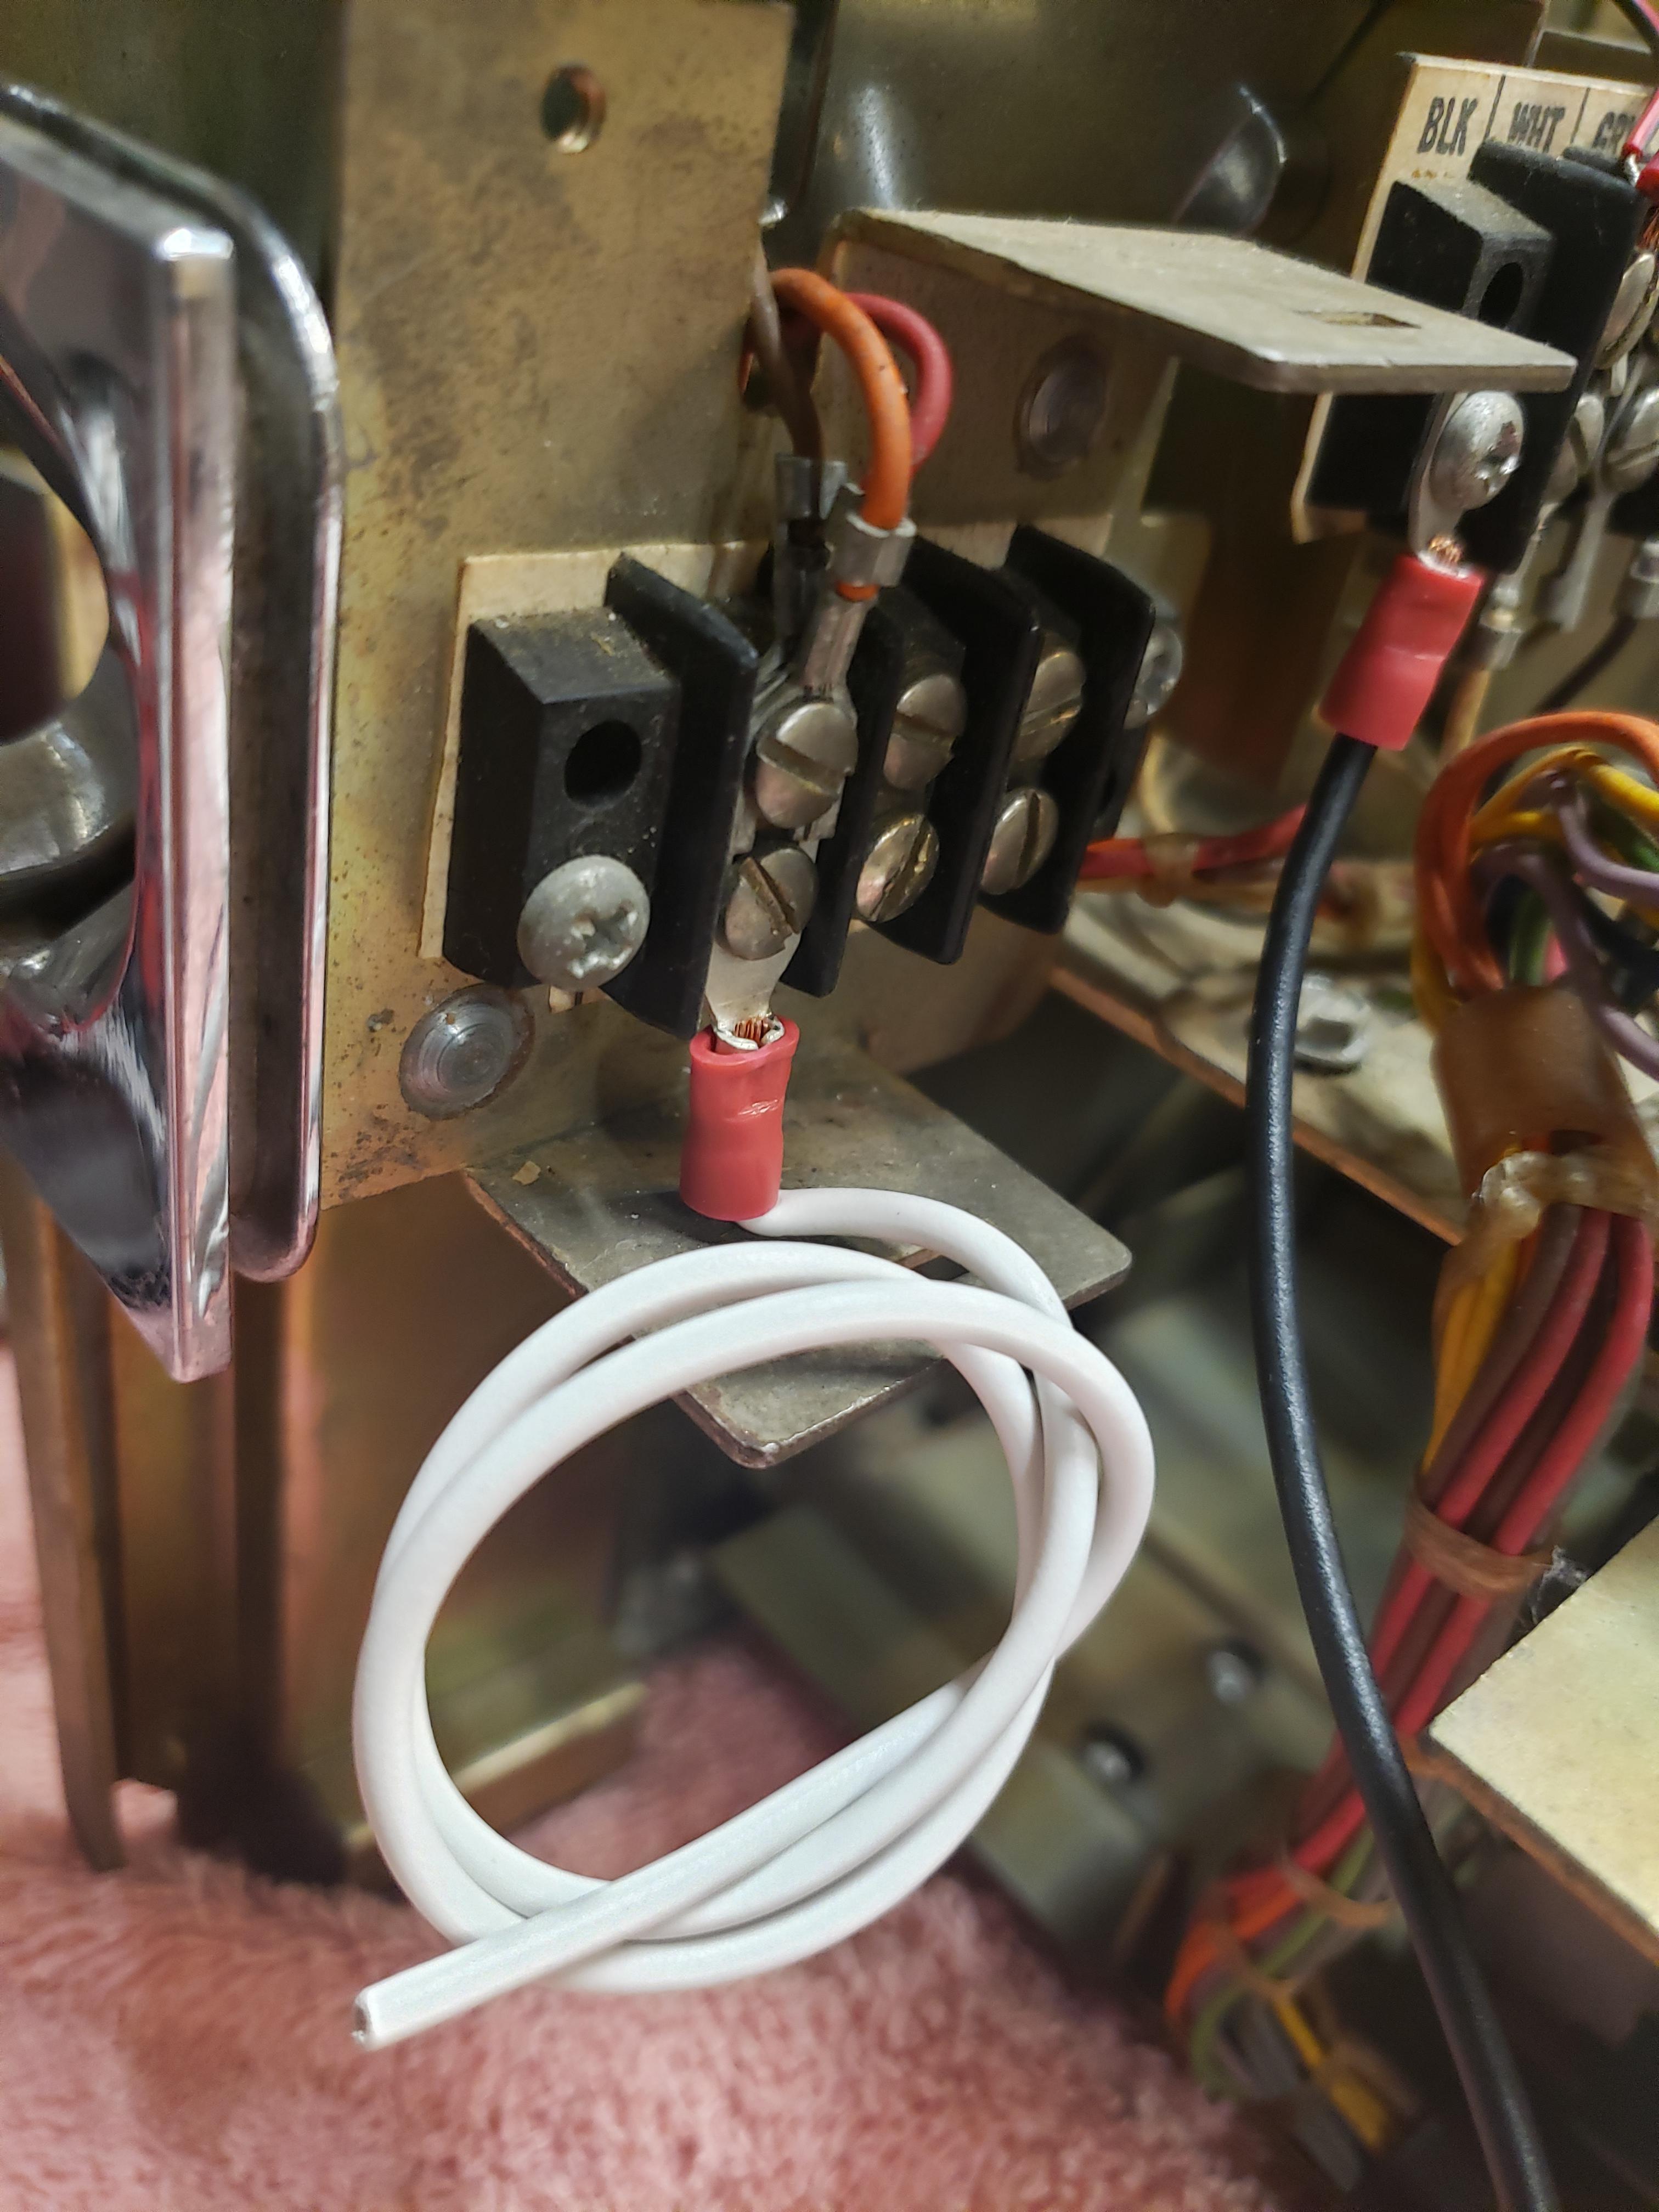 and have all 3 wires going to one terminal. When the resistor arrives I’ll wire that to the coiled white wire and then on to the 24VAC terminal on the main block.
I ordered 2 resistors, one from Amazon and one from Ebay. The race is on!
M_schrenk
ParticipantScudie – You are the master of all wallbox knowledge!
It’s funny that you provided that solution as I kept looking at the electrical schematic last night while in bed and saying “there is no circuit….” It shows a switch and then goes to that block you mentioned, but there is no circuit. I actually was going to try to hook one of the solid color wires to the 24VAC terminal this morning but without the resistor you mentioned. Good thing you replied and I truly appreciate your help and willingness to share your knowledge. Now I will go to Amazon or eBay for the “mother of all resistors”.
I think you may be correct about the quarter idea. When I got the machine the solid Orange from the quarter switch was also cut. It along with one of the Dime wires had stripped ends. They were not twisted together but, just as you said, could have been to force one credit for a quarter – As time went on costs go up and the store owner increased price for a song! The other clue that makes your idea even more possible is the slug rejector or was set to reject everything except quarters.
Very good work Agent Scudie! You are promoted to Captain Scudie for you crime solving ability (when it comes to mods done to a wallbox)! Seriously…. I’m pretty sure you nailed it!
-
This reply was modified 4 years, 11 months ago by
M_schrenk. Reason: Grammar
M_schrenk
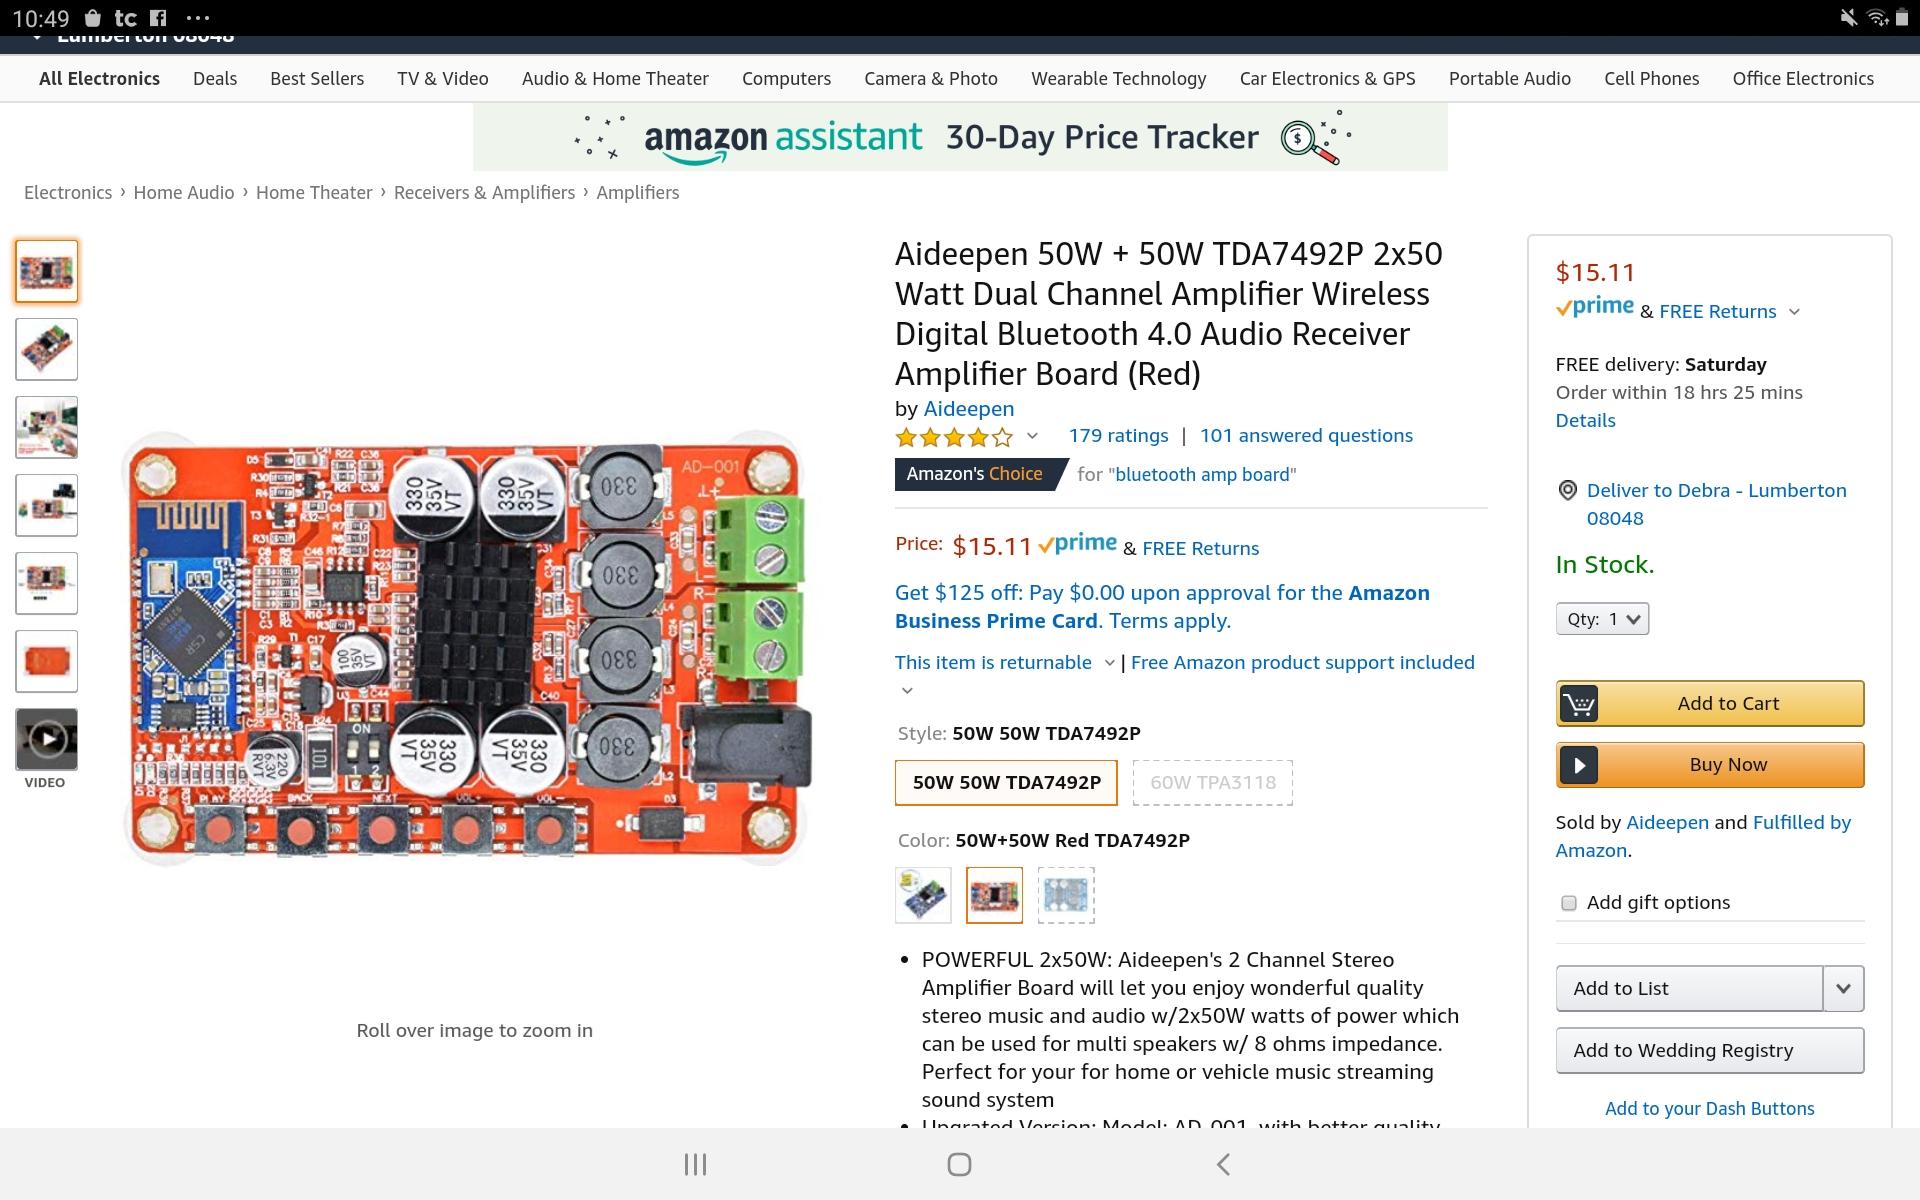
ParticipantStill putting my design plan together for my Seeburg D-3WA but I purchased a couple of drive in theater speakers that I was planning on using some way. My options are connecting them to the amplified output of the emulator and go with a low wattage speaker….. Or use the BT transmitter and install a BT receiver / amp to power some higher wattage speaker to gain some volume.
-
This reply was modified 5 years, 1 month ago by
M_schrenk.
M_schrenk
ParticipantAwesome news. Many more 4 ohm choices over the 8 ohm. Thanks for getting an answer. I guess my understanding was backwards. I found this when searching for “4 ohm versus 8 ohm” on the internet and thought the small onboard powered amp would require 8 ohm to get the most volume.
“A 4-ohm speaker requires more power from an amplifier than an 8-ohm speaker to produce the same loudness of sound.”
-
This reply was modified 4 years, 11 months ago by
-
AuthorPosts
